


DSLRs and Mirrorless cameras are becoming more and more affordable. Just two decades ago only …
Read More »Storytelling Through Lenses: Crafting Unforgettable Travel Blogs
Traveling often involves personal growth and self-discovery. Your blog can serve as a record of your…
Photography Prowess of OnePlus 12: Camera Overview & Detailed Specs
The OnePlus 12, a flagship smartphone, stands tall in the realm of photography with its exceptional …
Wall Art Projects For Your Home: Transforming Spaces On A Budget
You’re craving a home that whispers your story, a space that hums with the energy of your own making…
The Google Pixel 8 Pro – Best Phone for Photographers
In the fast-evolving world of smartphones, Google has once again set the bar higher with the Google …
How Phone Cameras have taken over Amateur Photography
In recent years, the amateur niche, encompassing hobbies, interests, and creative pursuits, has unde…
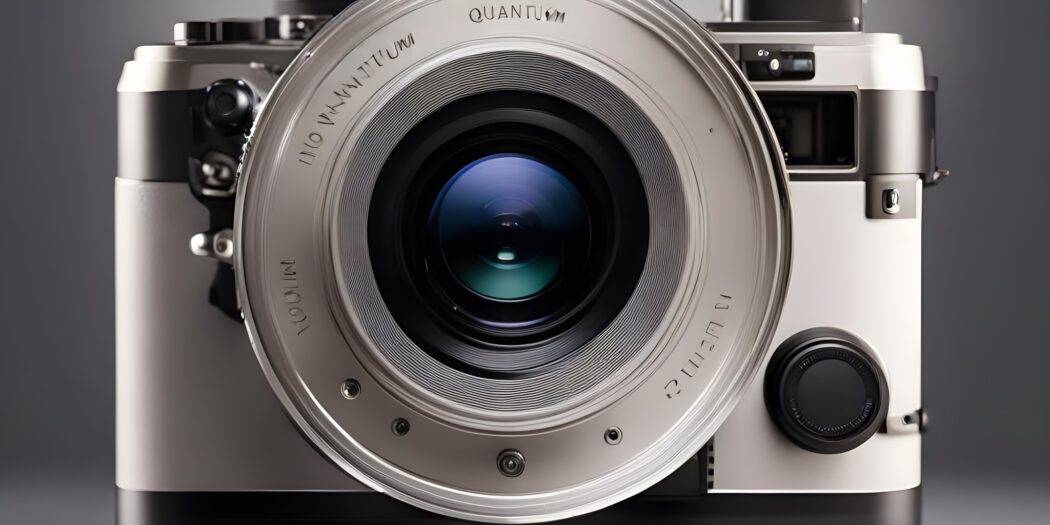
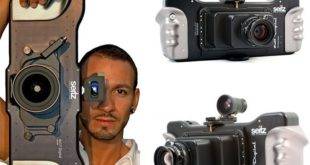
Quantum Cameras – The Future of Photography
In the ever-evolving world of photography, innovation has consistently driven the boundaries of what…
Inspiring Masters of Product Photography: A Celebration of Excellence
Product photography serves as a pillar of contemporary communication in the constantly evolving fiel…
Why is Image Verification Important in the Online World?
Visual content has become the new way of transmitting information online these days. Hence, you will…
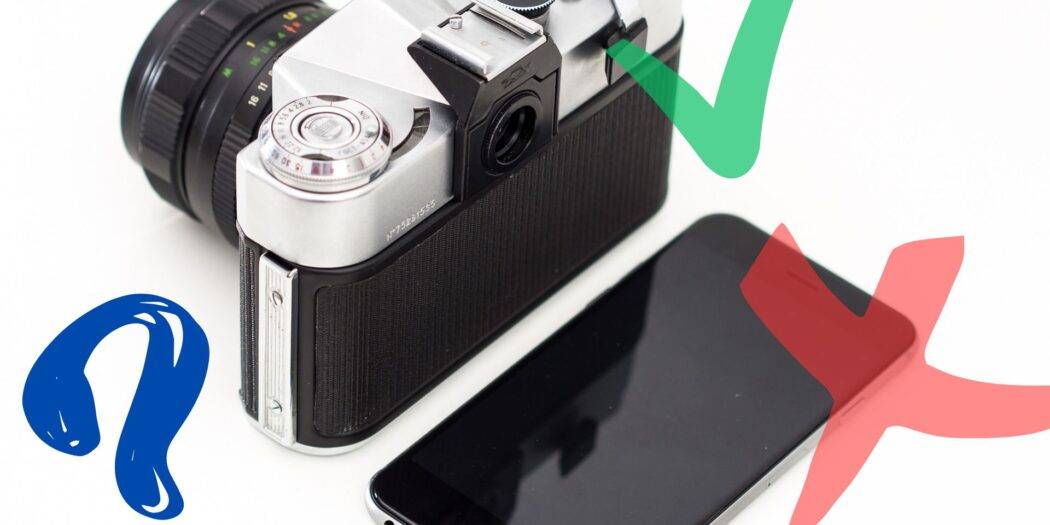
Mirrorless Camera vs. iPhone: Making the Choice for Photography
In today’s world, capturing memories and moments has become an integral part of our lives. Wit…
Camera Gear Guide from a Pro Photographer
I’ve been doing photography for the past 24 years, and let me tell you, there are so many came…
The Shutterbug Chronicles of the Nikon-Canon Family
Once upon a time, in the whimsical world of photography, there was a family that was always in focus…
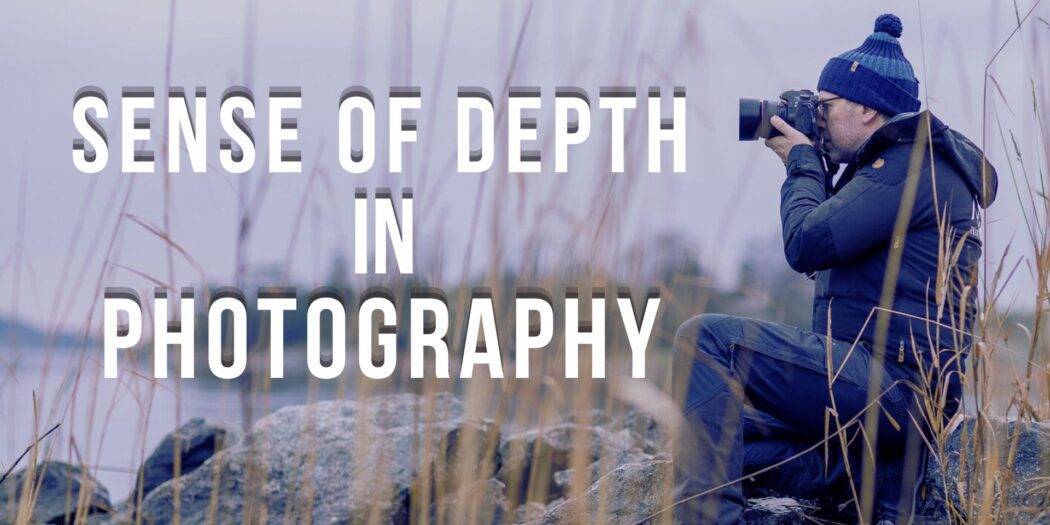
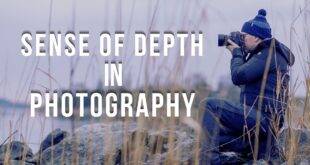
How to Create a Sense of Depth in Photograph
We all have individual styles as photographers. Here I would like to illustrate my idea of How to Cr…
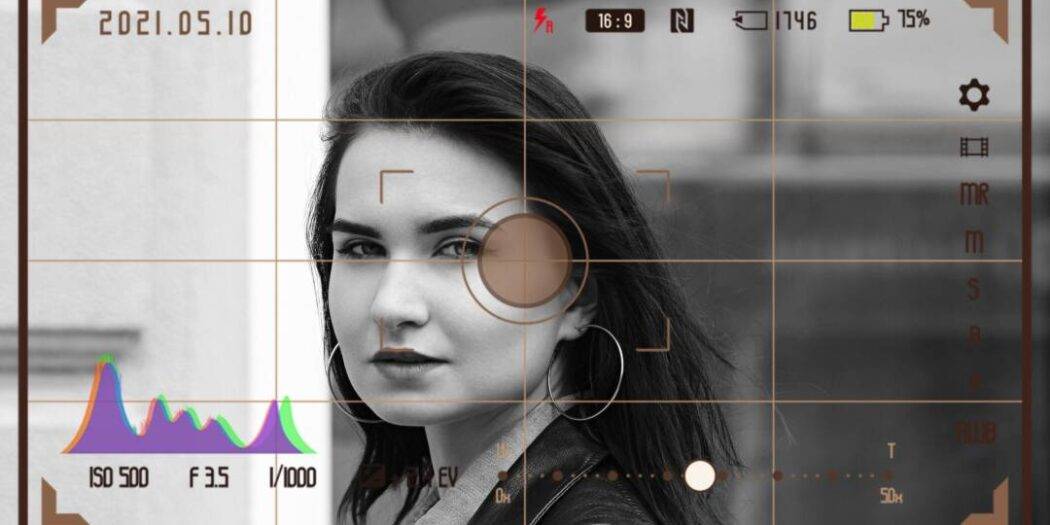
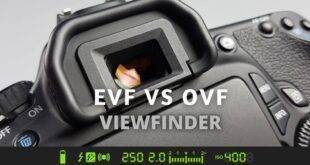
Camera Focus Modes Explained for Beginners
If you are new to photography, understanding the different camera focus modes can be confusing. The …
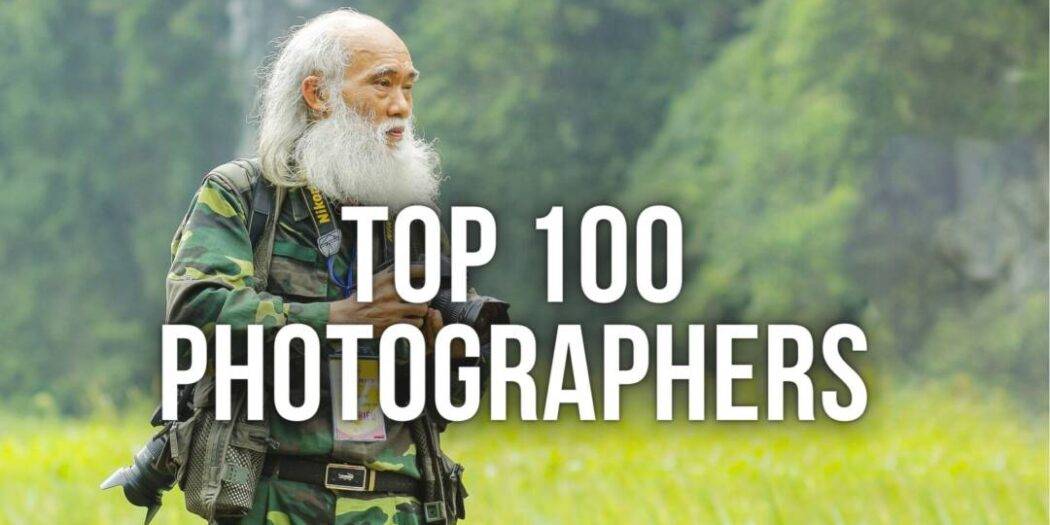
Top 100 Photographers of All Time
Photography, an art form that has the power to freeze moments, capture emotions, and tell compelling…
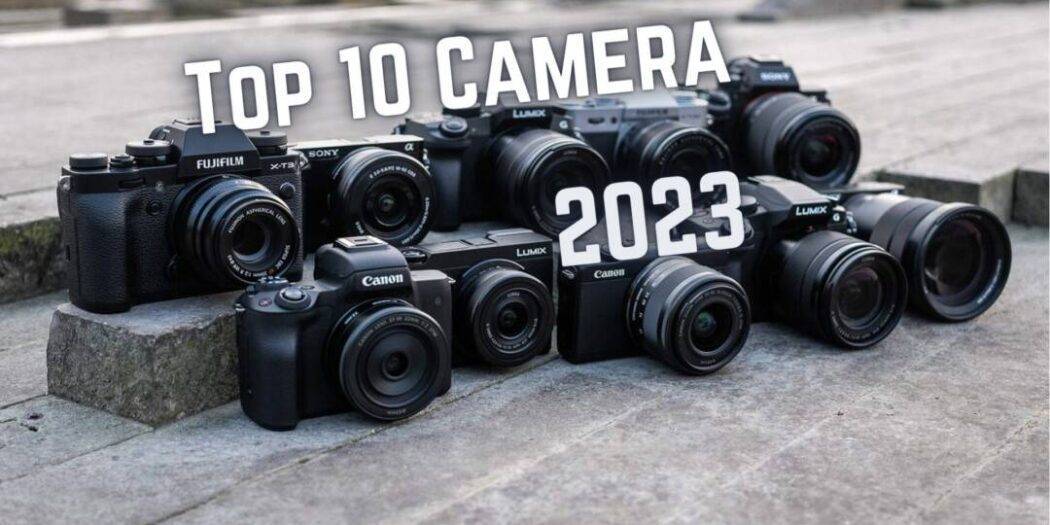
Top 10 Cameras of 2023
The Top 10 Cameras of 2023: A Snapshot of Innovation and Excellence In the dynamic world of photogra…
10 Affordable Lenses for Nikon Users: Unlocking Creativity on a Budget
When it comes to lenses there are not many cheap options. Most of the camera lenses come at a premiu…
How to take Portrait Photos – Ultimate Guide
Welcome to an in-depth exploration of the captivating world of portrait photography! In this compreh…
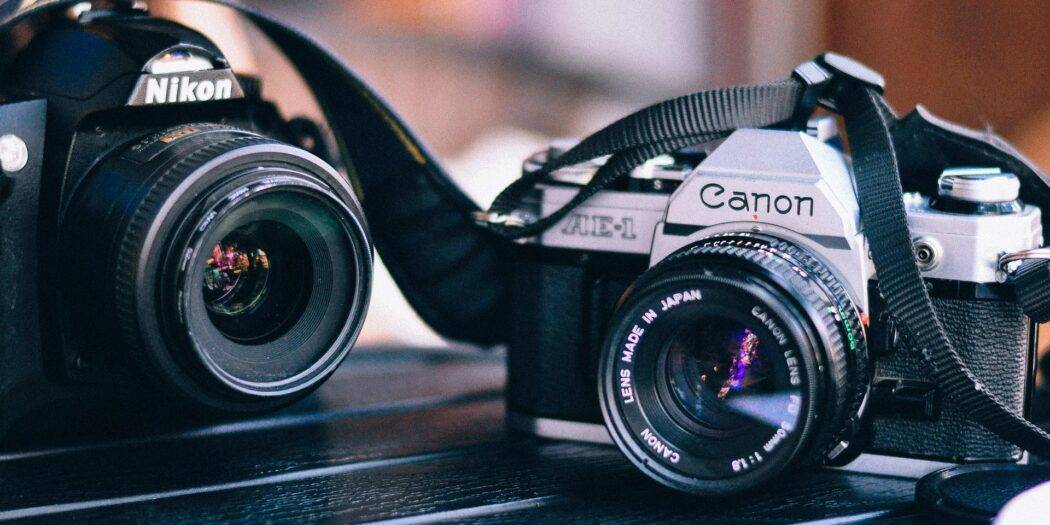
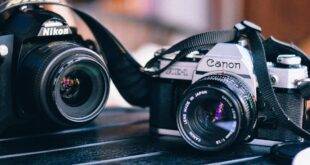
Camera Clash: The Epic Showdown Between Canon and Nikon
Hey there, photography enthusiasts! Today, we delve into the comical battle that unfolded when Canon…
Explore the Revolutionary Features of the Nikon Z9 Camera
Discover the game-changing features of the Nikon Z9 camera, designed to redefine professional photog…
How Artificial Intelligence is Revolutionizing Photography
The Transformative Influence of AI: How Artificial Intelligence is Revolutionizing Photography? In r…
Unlocking DSLR-like Images with Your Smartphone
In recent years, the cameras built into smartphones have evolved dramatically, giving us the power t…
Nikon Z10 Camera: The Future of Photography
The Nikon Z9 has been a game-changer for professional photographers, but the release of the Nikon Z1…
The Role of Social Media in Modern Photography: Opportunities and Challenges
In today’s digital age, social media has become essential for photographers to showcase their …
100 Photography Slogans for Everyone
Photography is an art form that has the power to capture the beauty and essence of life in a single …
How to Frame Anything in Photography
Framing is an essential technique in photography that can help add depth and interest to your images…
10 Photography Techniques for Everyone
Photography is an ever-evolving art form, and with advances in technology, new photography technique…
100 Qualities of a Good Photographer
A good photographer possesses a vast array of qualities that enable them to capture moments, tell st…
A Short Essay on Photography
Essay on Photography Photography is the art of capturing light with a camera, usually via a digital …
10 Photography Rules that You Should Break
Photography, like any other art form, allows for creative expression, and breaking traditional rules…
Guide to Lens Filters in Photography
The art of photography is different from taking snapshots. It includes a creative thought process. P…
Photography Tips and Tutorials


-


5 Tips for Better Candid Photography
5 Tips for Better Candid Photography The best photographs are always those that have been taken …
Read More » -


Top 10 Tips and Tricks For Awesome Macro Photography
-

The Art Of Street Photography
-

10 Non-Technical Things That Every Photographer Should Know
-

10 Questions To Critique Your Photo