Related Articles

Last Updated on August 21, 2016 by PixelPluck
How to Make DIY Lightbox for Under 5 Dollars
Lightboxes are very useful for product photography. Professional lightboxes for product photography will cost you anything between $75-$150. But here is a step by step guide if you want to do some product photography for fun and learn how to make DIY Lightbox for under 5 dollars. Working on self made custom lightbox is more fun than a ready-made one if you are not shooting for a professional assignment.
You can photograph anything from jewelry, food, toys to day-to-day consumer products as long as it fits well inside the setup. Remember that the product should not be over-sized in comparison to your lightbox and the lights inside should be able to bend along the internal surfaces for even illumination. This would ensure that no unwanted harsh shadows are present on the product.
You can make a lightbox at home for under $5 and here is the setup. You will not even need to spend this 5 dollars if you can find all these materials at home.
You will need:
- A Packaging Box ($1)
- Transparent Adhesive Tape ($1)
- Translucent Tissue Paper
- Bristol Paper in color of your choice ($1)
- LED Bulb ($2)
Customize it according to your needs and add multiple light sources if needed. Here is the step by step guide to building your own lightbox for product photography.
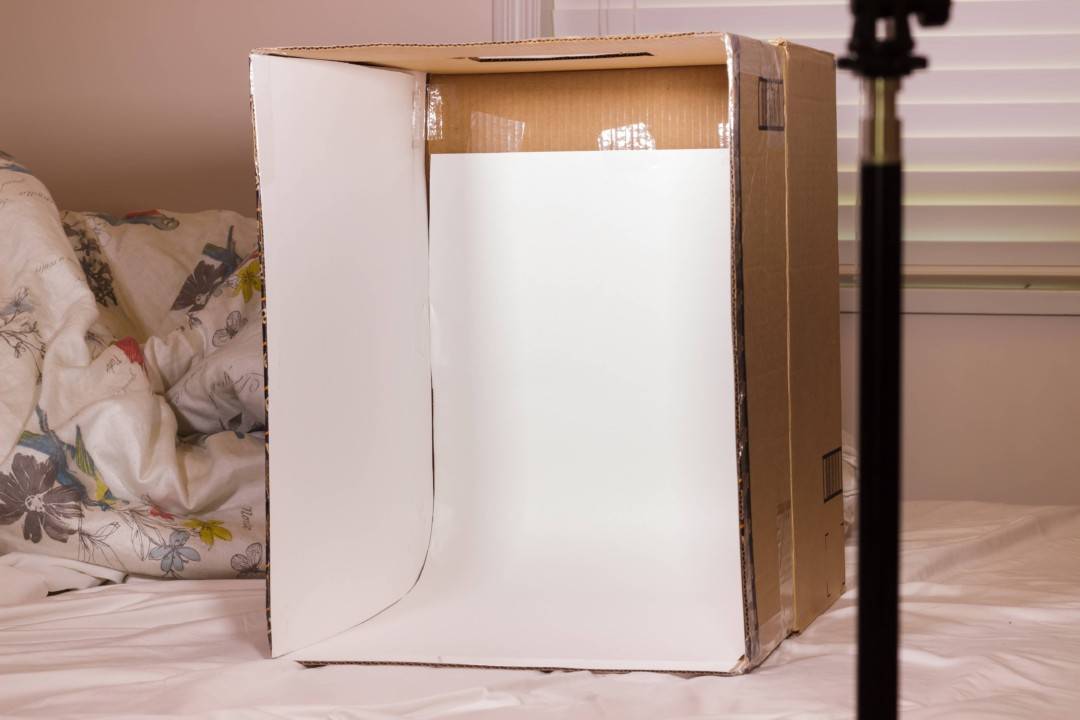
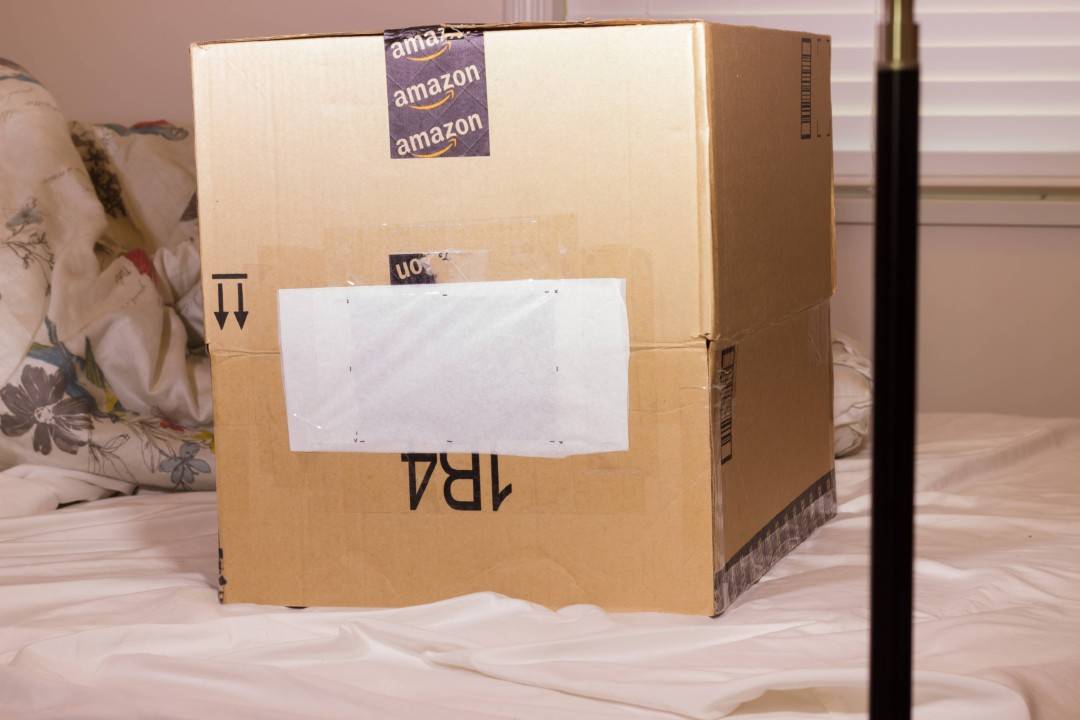
Use a medium sized cardboard box for the exoskeleton. It is easy to find one if you ordered anything from amazon recently. Put white sheet of bristol board or hard white paper all-around as shown in the image above. You can change the color of of paper to black if you want black background in your product photograph. Tape it all properly with transparent tape. Make sure that you avoid any hard bend at the bottom where you are going to place your product. This will ensure seamless background.
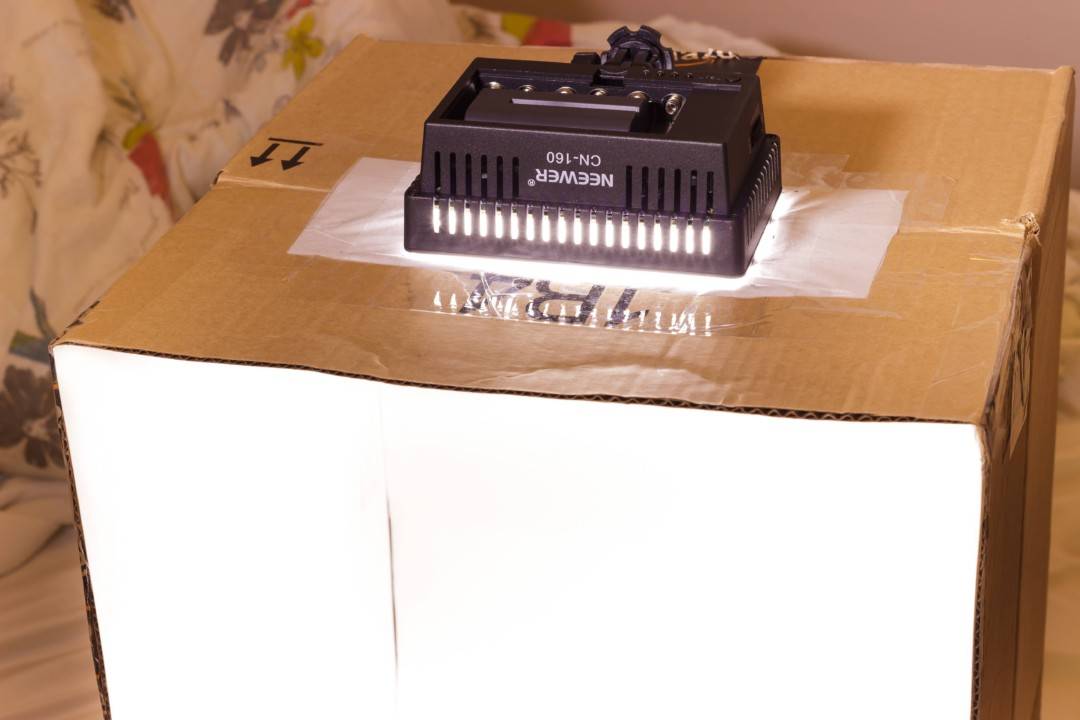
Now make a cut at the top and fix a translucent tissue paper on the top of it. This will help to diffuse the light coming in from the LED light source. You lightbox is almost ready for use now. Make sure that you use LED light source as it will produce minimum heat and your lightbox will be safe to use for longer time periods. It would be wise to invest in this NEEWER® 160 LED CN-160 Dimmable Ultra High Power Panel . In this panel you will be able to adjust the light intensity and brightness. You may also use it for indoor portrait photography. Otherwise you can just use any LED bulb. Use more than one layer of tissue paper if the light is too bright in case you are using ordinary LED bulb.
Switch the lights on and place your product on the bottom side. Use fast shutter speed and possibly a good tripod to make sure you get sharp images. Shooting in RAW format will help you with post processing and further adjustments after the shoot is done.
Here are few sample shots done with this setup of lightbox.
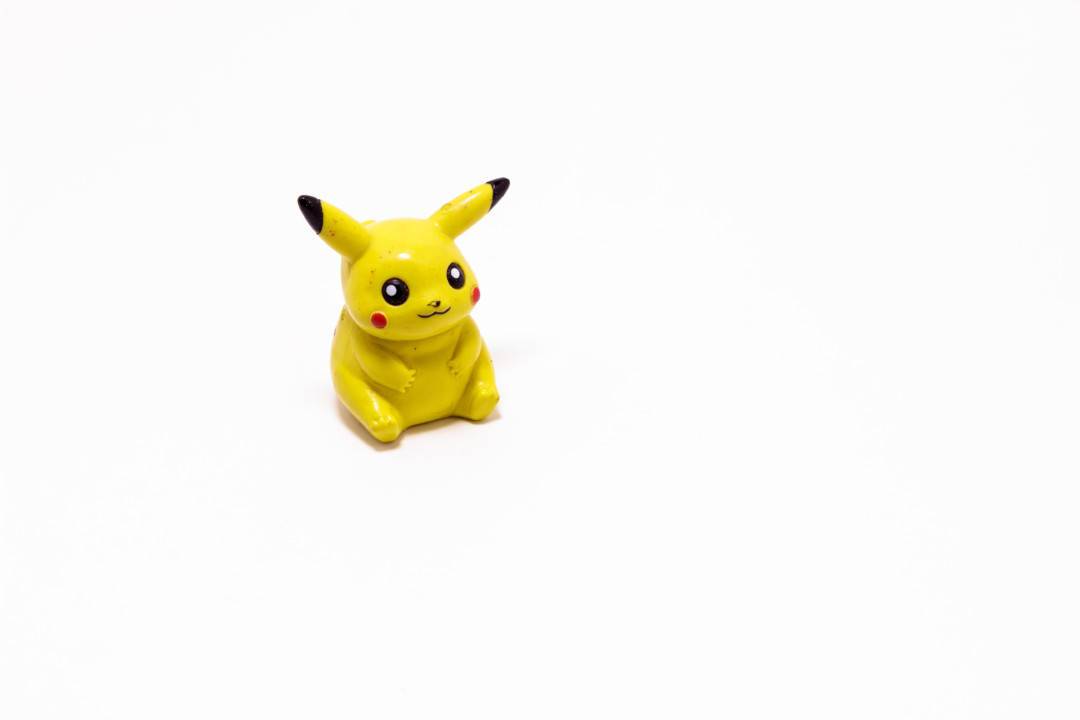
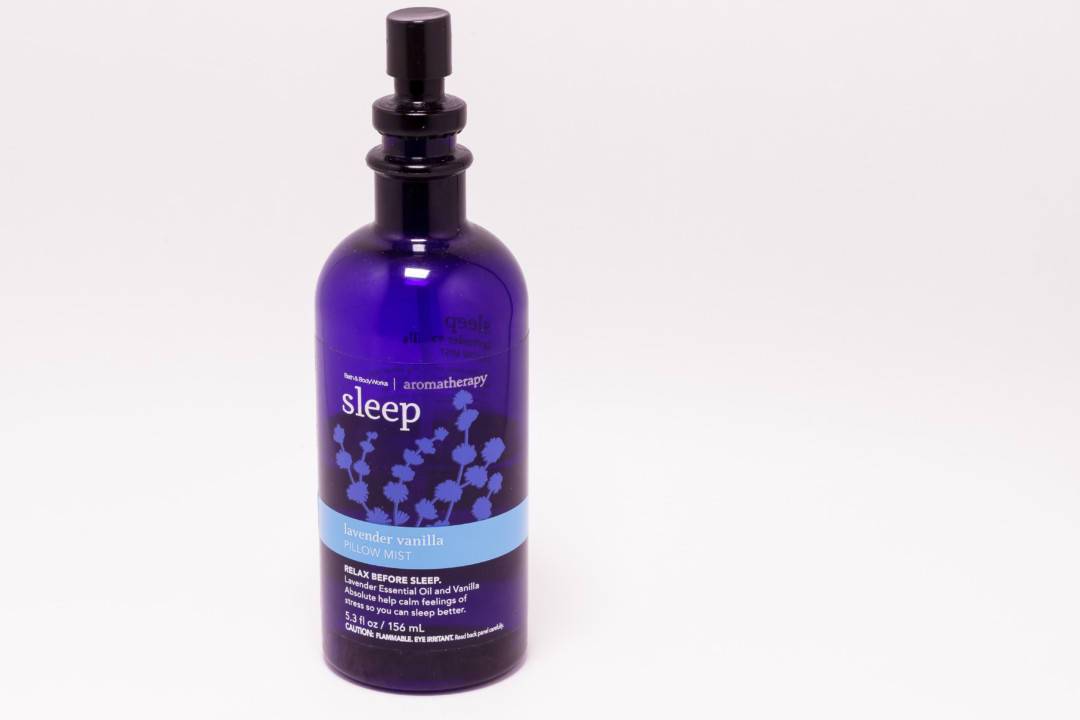
Changing the color of walls inside will result in different backgrounds. Here is a sample shot with different backgrounds showing different effects.
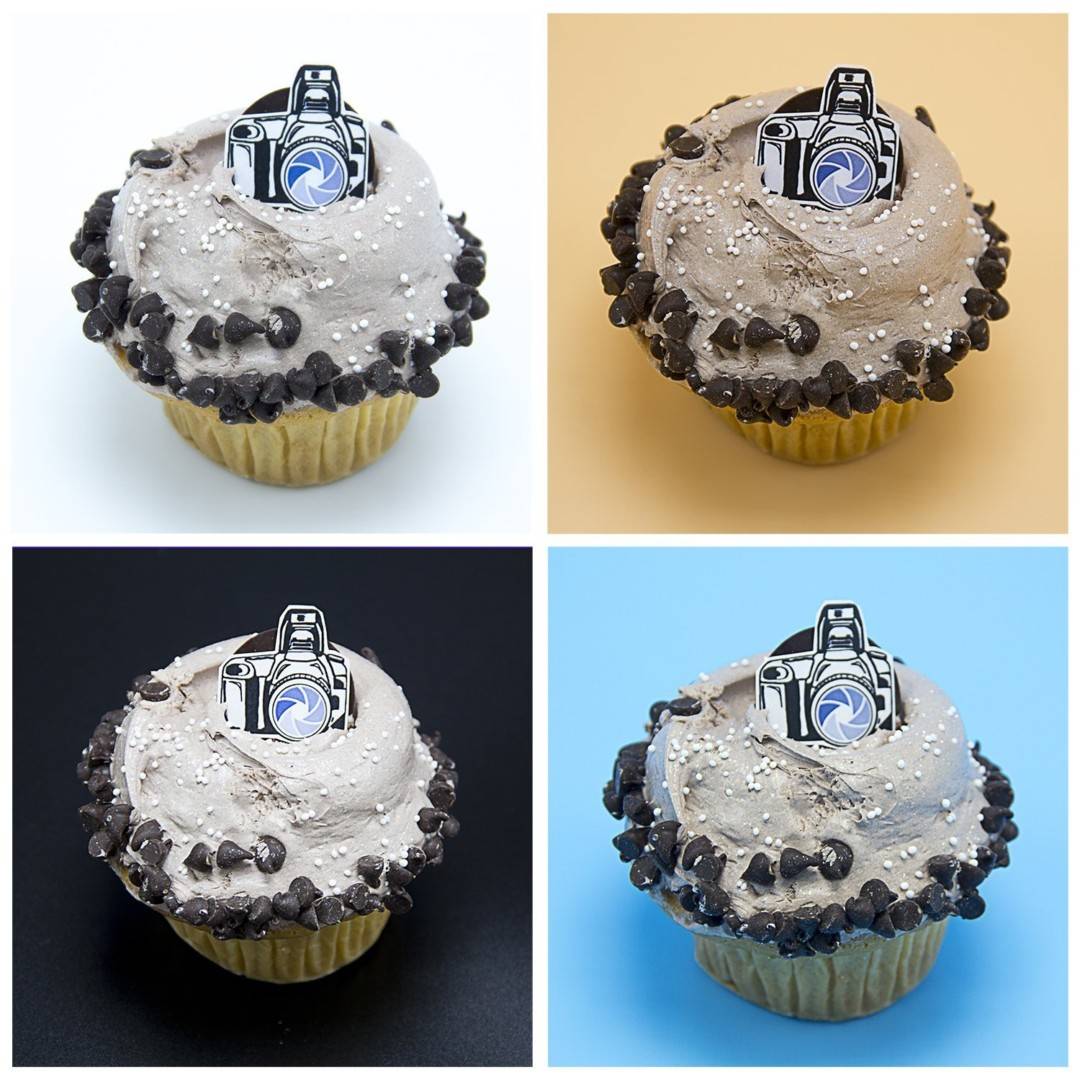
You can further enhance the backgrounds in any post processing software or leave as it is if you shot it well enough. Remember that the intensity of light is very important. Use of macro lens or a prime lens will further increase the sharpness.
Image h/t: Imgur